Sunday, July 16, 2017

No-Churn Raspberry Cheesecake Ice Cream


print recipe

No-Churn Raspberry Cheesecake Ice Cream
A great way to make ice cream without the churn.
Ingredients
  • 1/3 Cup (About 3 full sized crackers) Graham Cracker Crumbs
  • 2 Tbsp Butter, Melted
  • 1 Tbsp Brown Sugar
  • 8 oz Cream Cheese, Softened
  • 14 oz Sweetened Condensed Milk
  • 1/2 tsp. Vanilla Extract
  • 1 1/2 Cup Heavy Cream
  • 10 oz Raspberry Pie Filling (about half a can, you can use more or less to your taste)
Instructions
Combine graham cracker crumbs, melted butter, and brown sugar in a small bowl.Mix together condensed milk, vanilla extract, and cream cheese until all lumps are gone.In a new bowl, whip heavy cream to stiff peaks.Add condensed milk mixture to cream, mix until blended.In a 9 x 5 pan, spread half of the ice cream mixture, sprinkle with 1/2 graham cracker mix, and add half the pie filling in dollops. Swirl mixture with a knife, then repeat with an additional layer, swirling to mix ingredients. Cover and freeze 6 hours.
Details
Prep time: Cook time: Total time: Yield: 6-8 Servings

https://thesundaysuppersisters.blogspot.com/

Happy National Ice Cream Day:


Okay, guys, this one is good... really really good. My favorite part is the graham cracker crumble, but honestly, I love it all.

If you don't have an ice cream maker or forgot to throw your drum in the freezer 1-2 days ahead of time, have no fear, this recipe will get you delicious ice cream in 4-6 hours.

The trick is, let it freeze, don't dig in until that baby is solid. Here is a picture of what I used to make this recipe. I only use about half the can of raspberry pie filling, a little bit goes a long way. The filling has the seeds, and I found if you use the whole can, it can overpower everything and you are chewing on seeds.

A trick I use is to throw the mixing bowl for the cream, and the pan I am going to pour the ice cream into right into the freezer for some pre-freezing, it makes things go faster.


Thursday, September 24, 2015

3 Ingredient Cinnamon Pumpkin Muffins


Quick.... Easy.... Oh So Delicious:

Do I have your attention fall lovers? If not, I have attached a photo of the Little Man, playing with a truck that Aunty got for him. Who doesn't love an excavator?


Alright, take a look. These little guys are delicious, and easy, and moist, and taste like fall exploded in your mouth. Too much, I know, but I can't help but go on and on about how simple these little guys are. At about 40 calories a pop for a mini, or 120 for a full size, its not too bad. Plus, you have the pure power of pumpkin working for you in these little babies.

Every recipe has a story, this is what I know: 
 My aunt bought a farmhouse sink from across the country. She traveled hours to go pick it up and the wonderful lady she bought it from gave her a tupperware full of these muffins and a recipe for the ride home. Kenra, wherever you are, thank you! We usually get about 20 full size muffins.
 Without further ado: Cinnamon Pumpkin Muffins: 

1: Oven to 350

2: Assemble the ingredients:
1 box spice cake mix
1 15 oz can Pure Pumpkin (not the pumpkin pie mix!)
5 oz. (half the 10 oz bag) of cinnamon chips.
Mixer optional

 Dump in the spice cake mix.
 Does Jes not have the cutest can opener?
 Add the whole can of pumpkin. Pumpkin... not pumpkin pie!
 Mix until blended

 Dump in half the bag of cinnamon chips.
 I stir these in by hand, not for any technical reason. I suppose I could say just from habit, or that I don't want the paddle to break up the cinnamon chips. I am now at about 2 minutes into the work.
 Scoop into the muffin tins, these are mini muffins, 1 rounded Tablespoon fills these up pretty well. They will not rise much, so don't worry about overfilling. With regular muffin tins, 1/3 a cup usually works pretty well for me, use your best judgement!
 These little ones can come out of the oven at about 15-18 minutes. The larger ones will take about 20. 

 You might want to enjoy with a spiced latte.
I hope you enjoy these guys, believe me, we love them at our houses!


Thanks everyone for your patience with Jes and I!
Happy Cooking,

Andrea, Mark and Henry. One day, we will get a decent family photo


Sunday, February 1, 2015

Baked Penne


This week, Jes and I had the pleasure of having our little sister, Lexi, come to our houses to babysit the boys. Their Daycare lady was going to Disney (well needed break) and Lexi was just ending her J term at college. Fate?

Our mom is always talking about how wonderful Lexi's Baked Penne (Baked Ziti) is. After a little bit of guilting her and pulling on her heart strings, she agreed to cook it for me. This is huge, because Lexi really just doesn't enjoy cooking. Blasphemy.

I was happy to get this recipe from her and will use it again. I think it might take over as my basic pasta standby instead of goulash. This is an amazingly easy recipe. It is one that you don't need a card, you will remember it in your head. It can also be changed a million different ways and turn out just fine! Here is what Lexi did.
 We assembled our ingredients:

1 Pound Penne pasta
2 Jars Pasta Sauce, we used Prego Traditional
16 Ounces Sour Cream
1 Pound Hamburger
1 Onion
1 clove garlic
2 Cups Mozzarella Cheese, Shredded
1 Package sliced Mozzarella Cheese
(the sliced cheese makes the sour cream easier to spread and makes it oh so ooey gooey)
Grated Parmesan Cheese on top

Preheat oven to 350. You will want to put this in a 9 x13 pan, it makes a lot.
 Add salt to a large pot of water and cook pasta according to directions or al dente.
 Chop the onion
 Mince the garlic
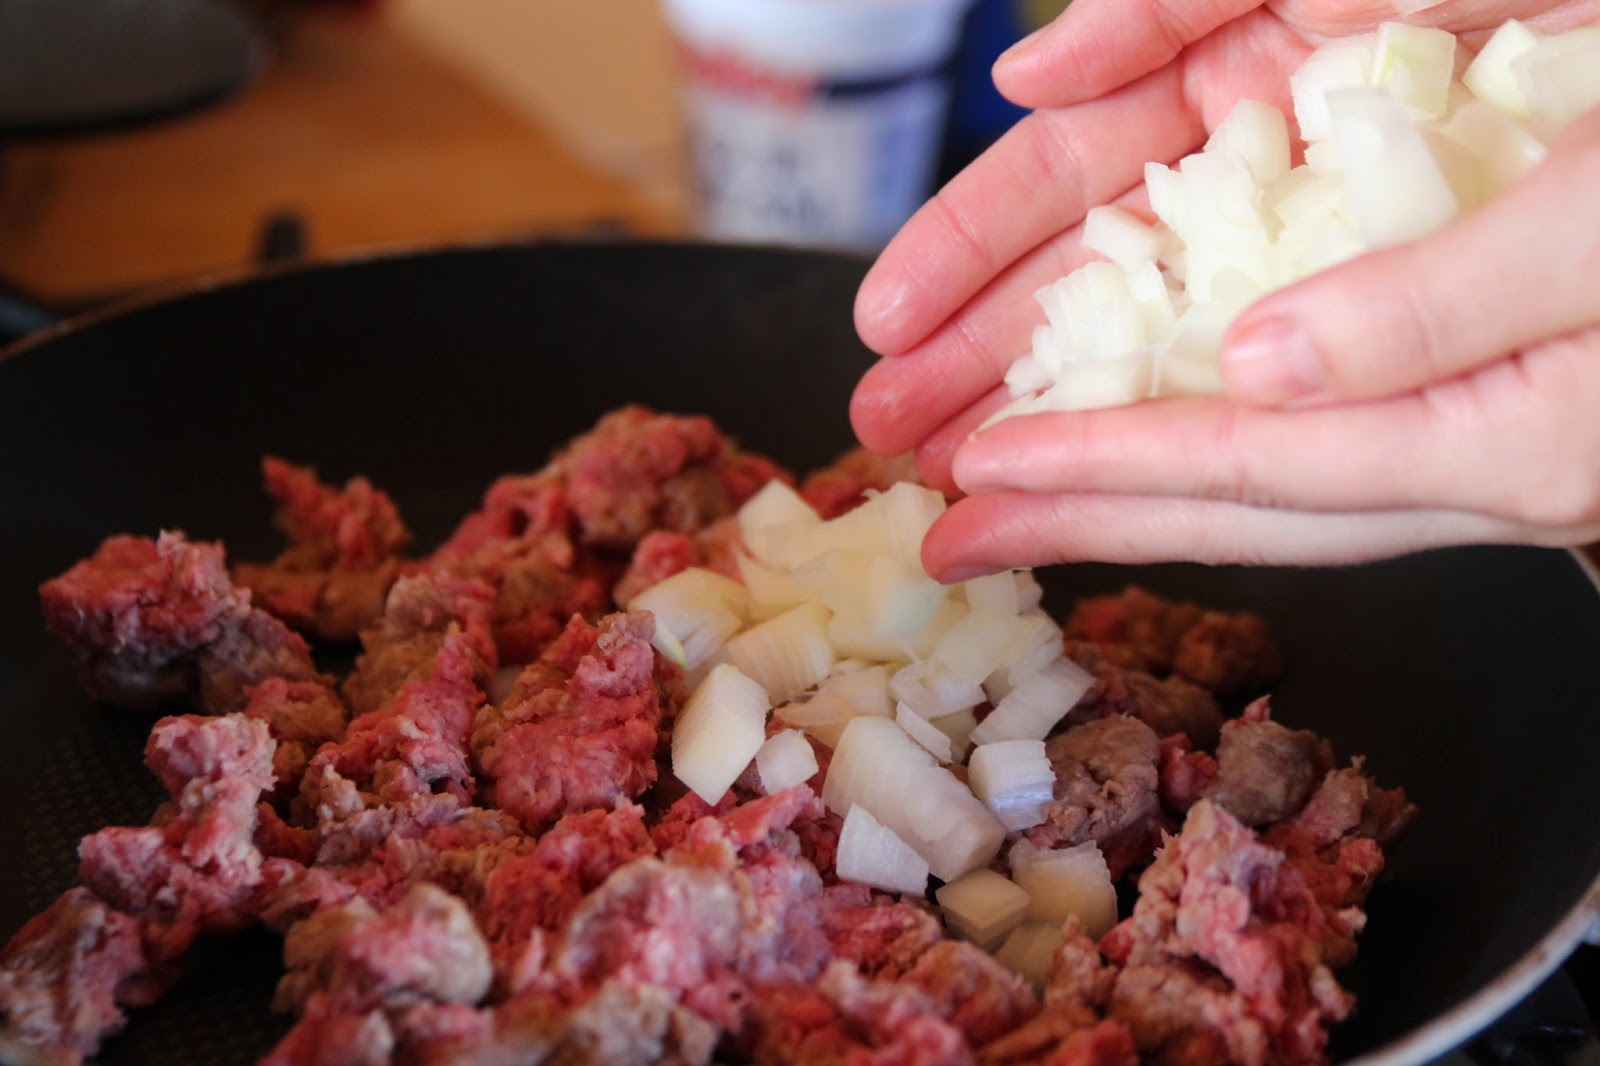
 Add them both to 1 Pound of Hamburger

 Cook up the hamburger mixture, draining the fat if needed.
 Add the pasta sauce. Hope you started with a big enough pan!
 At some point your noodles are going to be done. Go ahead and strain them, set them aside until you are ready to assemble!
 Butter the pan. I suppose you could use Pam or a non stick spray, but really, we like butter!
 Look at us, all ready to layer
 Put in the first layer of pasta, about 1/2 or a little bit more than 1/2. Lexi kept reminding me that this is not a science!
 Next goes the sliced mozzarella cheese.
 1/2 of the sour cream. This is where we are really glad we used the sliced stuff. You of course can use grated, but you will spend longer than necessary spreading out the sour cream.

 Sprinkle 1 Cup of the shredded Mozzarella cheese on the top
 Spoon 1/2 of the pasta sauce over the top and repeat.


 Sprinkle the top with parmesan cheese. I really think this is more for the look thank anything.

Pop it in the oven. 350 for 30 minutes. Lexi says that it doesn't really have to go in that long, everything is cooked and all you are looking for is the cheese to melt. However, in our family, we crave those crunchy edges. 30 minutes was just right.

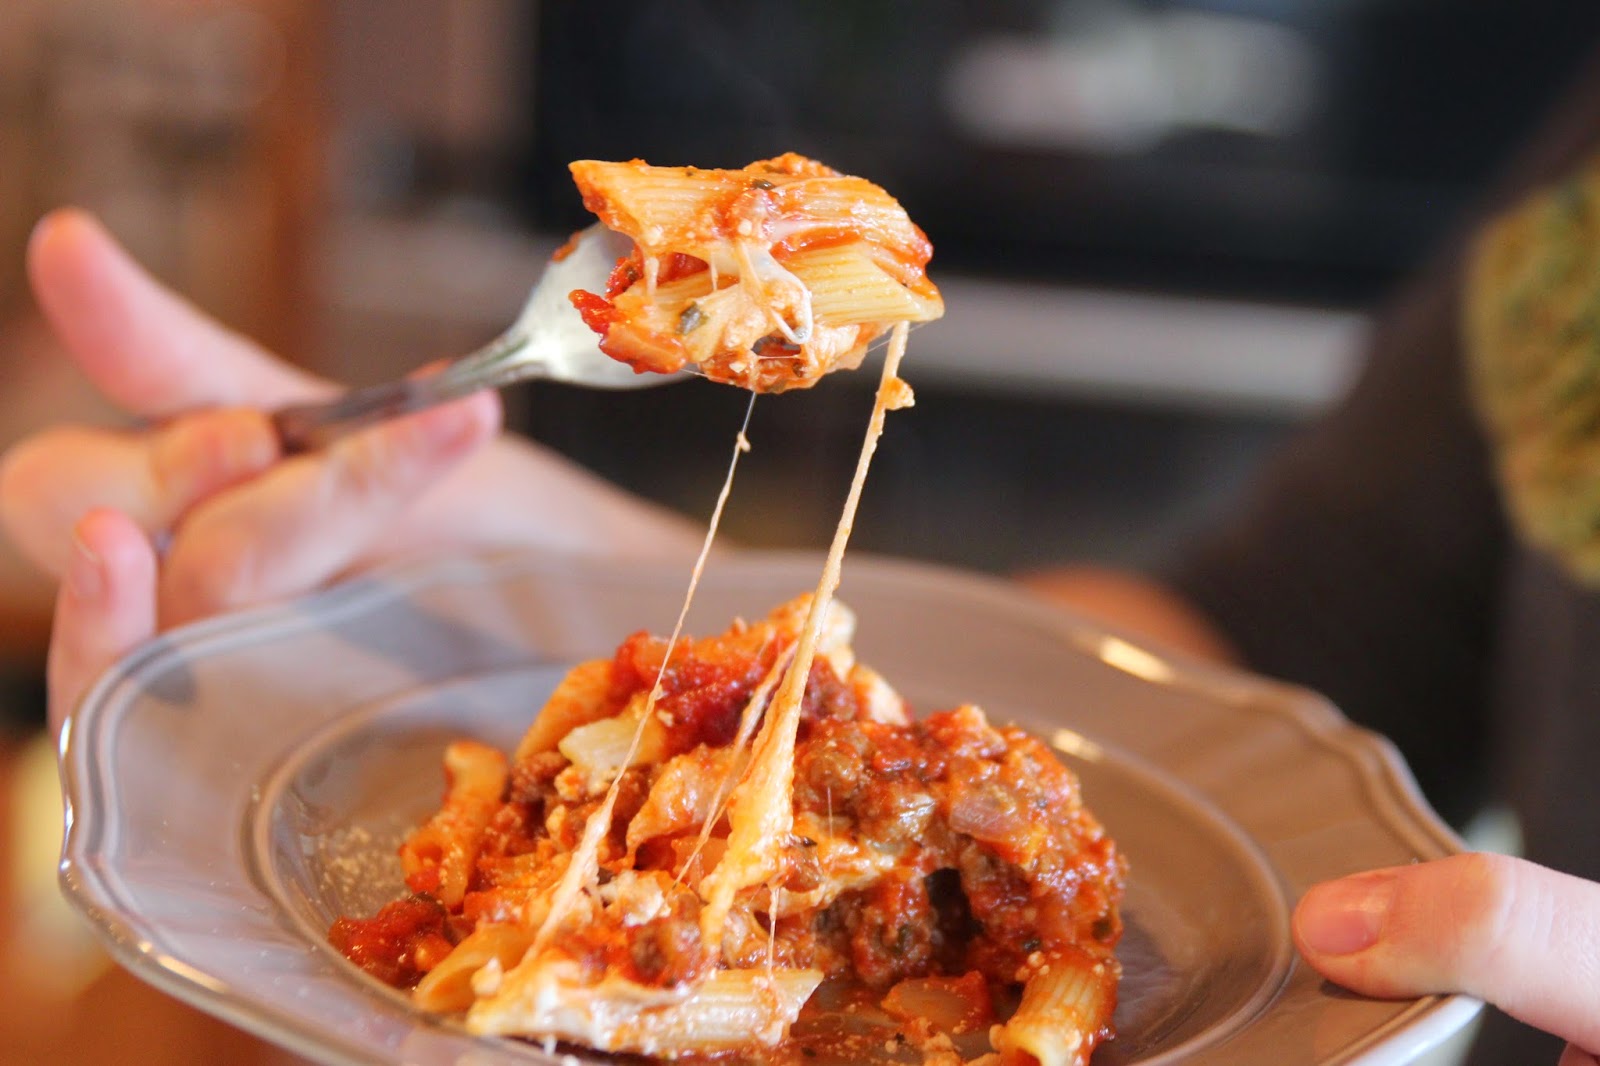
 What did I tell you, ooey gooey.

 Saucy, cheesy, full of flavor.

 All is said and done, and it is time for Auntie Lex to get back to college.
 We shipped her off with half of the pasta, she said her roommates will be excited.
 Henry sure will miss his Auntie!

Embarrassing side note for Lexi, she originally made this pasta dish for a boy!

Here is a little video from behind the scenes. In the middle, Lexi will actually explain how to make baked penne.